
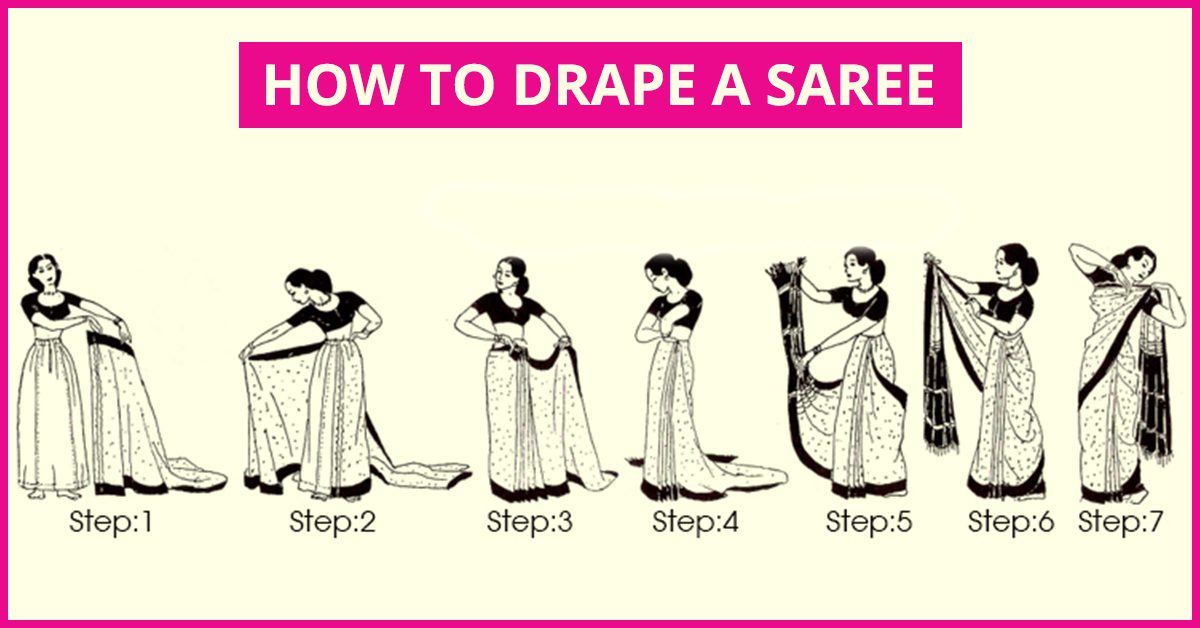
The saree is a timeless and elegant attire that has been a symbol of Indian culture for centuries. It is a versatile garment that can be draped in various ways to suit different occasions, and mastering the art of draping a saree can take some practice. In this blog post, we’ll provide you with a step-by-step guide to draping a saree, so you can master the traditional attire with ease.
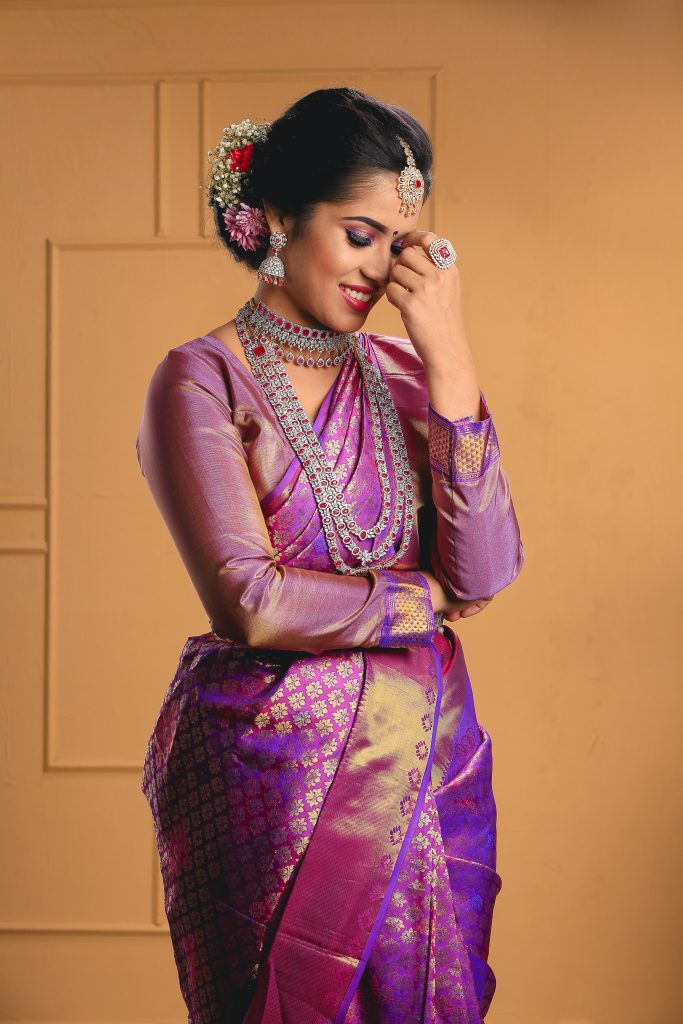
Step 1: Choose the Right Saree The first step to draping a saree is to choose the right one. Sarees come in various fabrics and designs, and it’s essential to select one that suits the occasion and your body type. For instance, a silk saree is perfect for formal events, while a cotton saree is ideal for everyday wear. You also need to consider the colour and design of the saree and ensure that it complements your skin tone and personality.
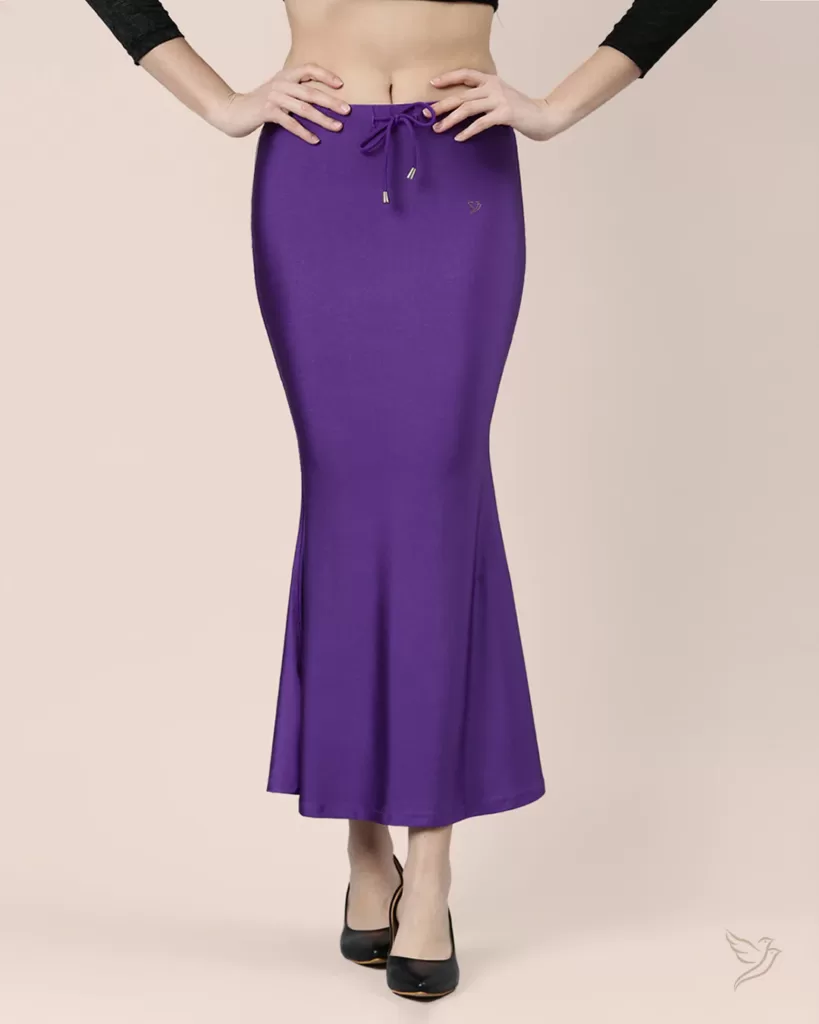
Step 2: Wear the Petticoat A petticoat is a long skirt that you wear under the saree. It helps to provide support and shape to the saree, and it’s essential to choose a petticoat that matches the colour of the saree. Wear the petticoat above your navel and adjust it to fit your waist snugly.
Step 3: Tuck the Saree Now it’s time to start draping the saree. Hold the saree lengthwise and tuck one end of it into the petticoat at the centre of your waist. Bring the saree around your waist, and tuck the other end into the petticoat at the back. Ensure that the saree is tucked tightly and that the border of the saree is level with the ground.
Step 4: Make Pleats Next, make pleats with the remaining fabric of the saree. Hold the saree at the tucked end and start making pleats, about 5-6 inches wide, going towards your left. Ensure that all the pleats are of equal width and that they face towards your left.
Step 5: Tuck the Pleats After making the pleats, tuck them into the petticoat at the centre of your waist. Ensure that the pleats are straight and that they’re tucked in tightly.
Step 6: Drape the Pallu The pallu is the loose end of the saree that drapes over your shoulder. Take the pallu and bring it over your left shoulder, making sure that it’s of the same length as the rest of the saree. Pin the pallu to the blouse at the shoulder to secure it in place.
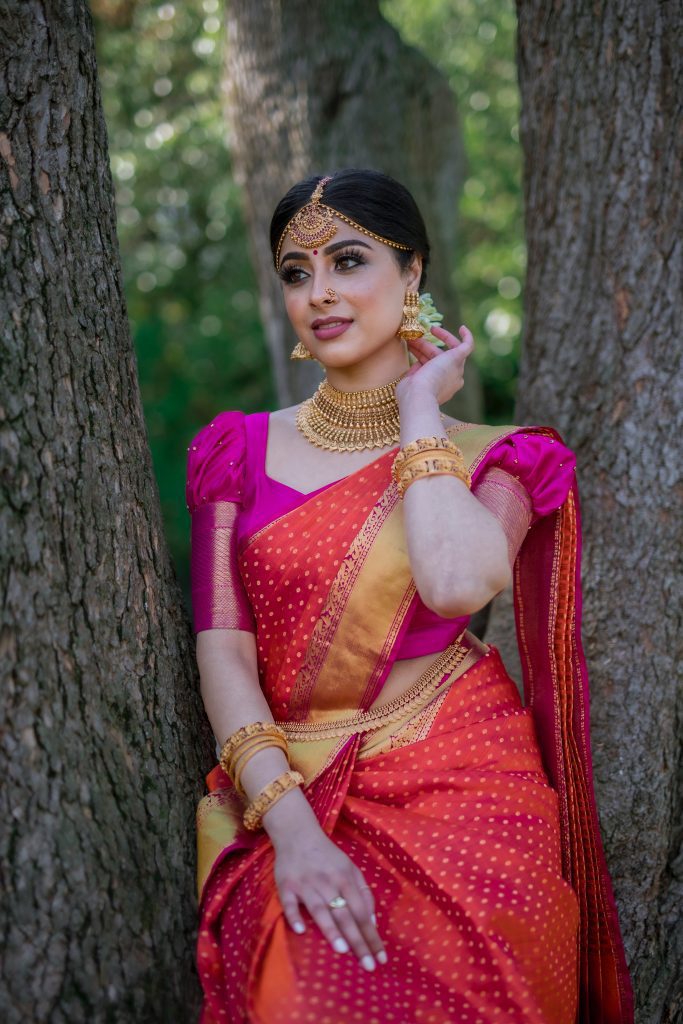
Step 7: Adjust and Style Finally, adjust the saree to ensure that it’s draped neatly and elegantly. Adjust the pleats to make them more symmetrical and ensure that the pallu falls neatly over your shoulder. You can also style the saree by adding accessories such as bangles, earrings, and a necklace.
In conclusion, draping a saree is an art that can take some practice to master. By following these simple steps, you can drape a saree with ease and elegance, and make a statement on any occasion. Remember to choose the right saree, wear the right petticoat, and make neat pleats to ensure that your saree looks perfect.


Leave a reply